How to Safely Restore Lead-Acid Batteries Without Special Equipment
Hey there, battery enthusiast! You know that feeling, right? Your trusty lead-acid battery is starting to lose its juice, and you're faced with the dreaded decision: replace it or try to bring it back to life?
Don't worry, you're not alone! Many people have successfully revived their lead-acid batteries without fancy equipment. We're going to walk through a safe and effective method to get those batteries humming again. Just remember, safety first! We'll cover everything you need to know, from understanding the process to taking precautions.
Understanding the Basics
Let's start by understanding how lead-acid batteries work. They consist of lead plates submerged in an electrolyte solution (sulfuric acid and water). When you discharge a battery, lead sulfate forms on the plates, reducing the battery's capacity. But hold on, here's the good news: the process is reversible!
By applying a reverse current (charging), we can break down the lead sulfate and restore the battery's capacity. That's the magic behind restoring your battery.
Safety First!
Before we dive into the restoration process, safety is paramount. Lead-acid batteries contain sulfuric acid, a corrosive substance. Here are some essential precautions:
- Always wear protective gear, including gloves, goggles, and a face mask.
- Work in a well-ventilated area. Sulfuric acid fumes can be harmful.
- Never mix the electrolyte solution yourself. Use pre-mixed battery acid.
- Keep children and pets away from the work area.
- Have baking soda on hand for neutralizing acid spills.
Gathering Your Supplies
To restore your battery without fancy equipment, you'll need a few basic items:
- A Battery Charger: A standard car battery charger will do the trick. It's essential to use a charger specifically designed for lead-acid batteries.
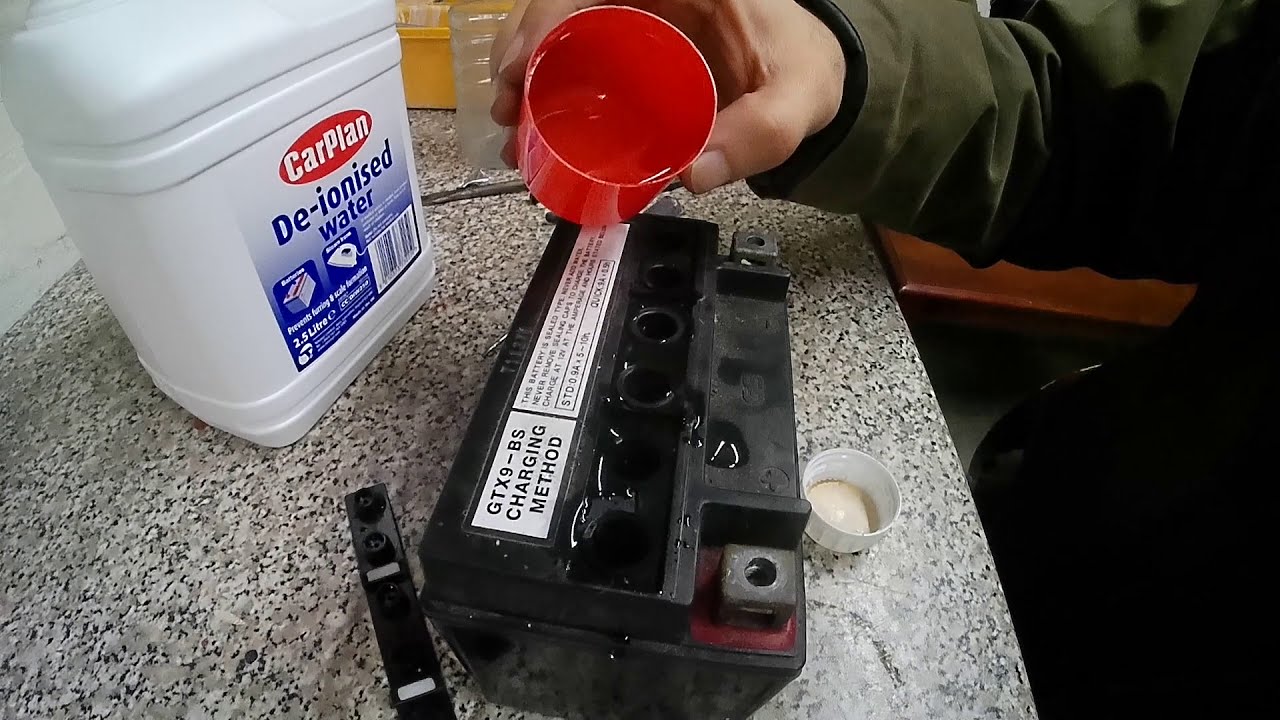
- Distilled Water: Distilled water is crucial because it doesn't contain impurities that can damage the battery.
- Hydrometer: This handy tool measures the specific gravity of the electrolyte solution, which indicates the battery's charge level.
- Rubber Gloves and Goggles: Protection is key! Always wear gloves and goggles when handling battery acid.
- Baking Soda: For neutralizing acid spills.
- A Clean Container: To mix distilled water and acid if needed.
The Restoration Process
Now, let's dive into the restoration process, step by step:
1. Inspect Your Battery
Before you begin, take a good look at your battery. Check for any signs of damage, leaks, or corrosion. If you see any significant issues, it's best to replace the battery.
2. Clean the Battery Terminals
Clean the battery terminals using a wire brush or sandpaper. This will ensure a good electrical connection during charging.
3. Check the Electrolyte Level
Carefully remove the battery caps and check the electrolyte level in each cell. The electrolyte should cover the plates by about half an inch. If the level is low, add distilled water to each cell until it reaches the appropriate level.
4. Charge the Battery
Connect your battery charger to the battery, observing the polarity (red to positive, black to negative). Set the charger to the appropriate amperage for your battery type (consult your battery manual or charger instructions).
It's crucial to charge the battery slowly and allow it to charge for at least 24 hours, or longer depending on the battery's condition. Never attempt to "fast charge" a battery.
5. Monitor the Charging Process
While the battery is charging, monitor its progress. If the charger's indicator light turns green or the voltage reading stabilizes, it indicates that the battery is fully charged.
6. Check the Specific Gravity
Once the battery is fully charged, use a hydrometer to check the specific gravity of the electrolyte solution in each cell. The specific gravity reading should be within the range specified for your battery type.
7. Repeat the Process if Necessary
If the battery's specific gravity readings are consistently low even after a full charge, the battery may be damaged and may require replacement. However, if the readings improve, you can repeat the charging process a few times to further restore the battery's capacity.
Tips for Success
Here are a few tips to increase your chances of success when restoring a lead-acid battery:
- Slow and Steady Wins the Race: Always charge the battery slowly. Fast charging can damage the battery.
- Don't Overcharge: Leaving the battery on the charger for extended periods beyond its full charge can also damage it.
- Regular Maintenance: Once the battery is restored, maintain its health by regularly checking the electrolyte level and topping it off with distilled water if needed.
- Consider Replacing: If you're not comfortable working with lead-acid batteries or if the battery is significantly damaged, it's best to replace it.
Important Considerations
Before embarking on this journey, remember these important considerations:
- Battery Age: Batteries have a lifespan. Restoring an older battery might only provide temporary relief.
- Deep Discharge: If the battery has been deeply discharged multiple times, it might be beyond restoration.
- Safety is Non-Negotiable: Lead-acid batteries can be hazardous. Always prioritize safety and follow proper handling procedures.
There you have it! By understanding the process, prioritizing safety, and taking your time, you can potentially breathe new life into your lead-acid battery. Good luck!
0 comments:
Post a Comment
Note: Only a member of this blog may post a comment.